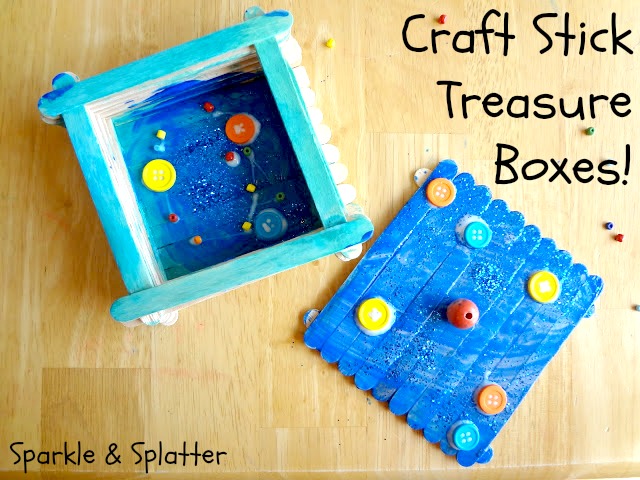
Do you remember making these as a kid? Using craft sticks and glue, you can make your own treasure box in no time at all! A treasure box makes a thoughtful gift too.
Here’s what you’ll need:
- Craft sticks
- Glue (we used white school glue)
- Tempera paints
- Things to decorate your box: glitter, beads, buttons, pom poms, feathers, and anything else your little one would like to put on there.
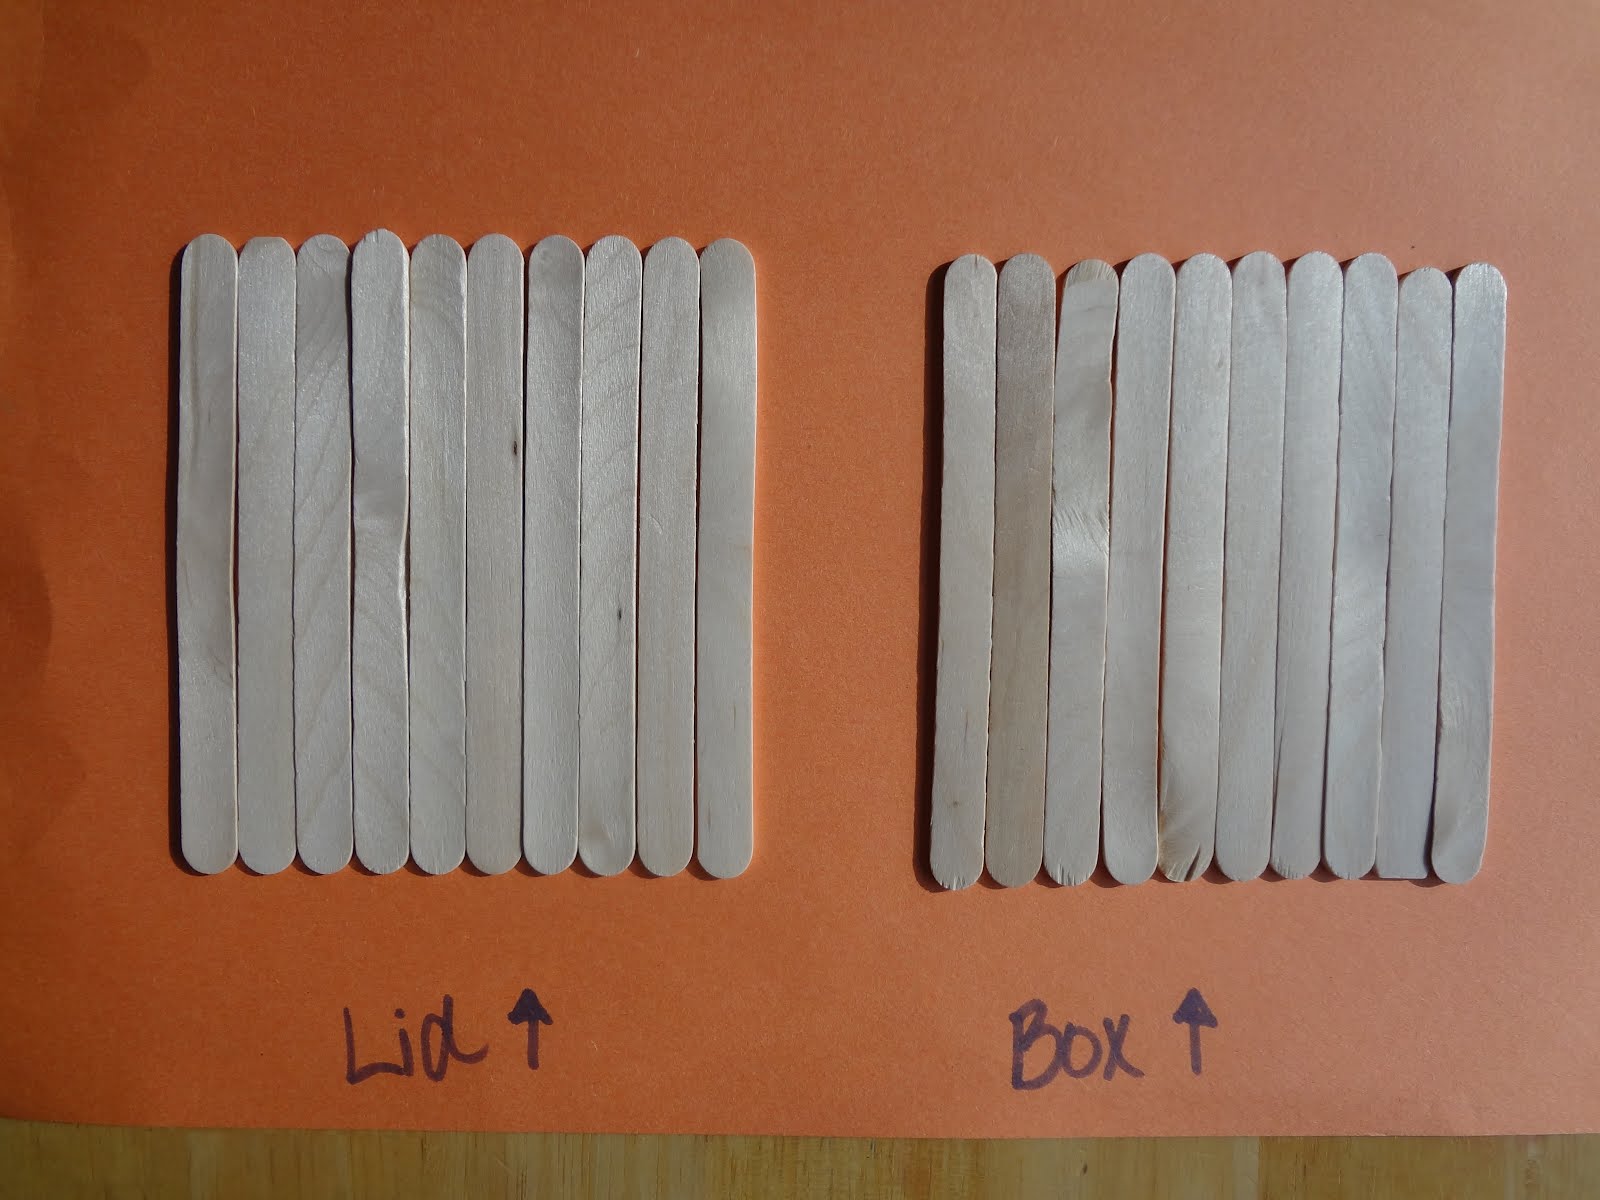
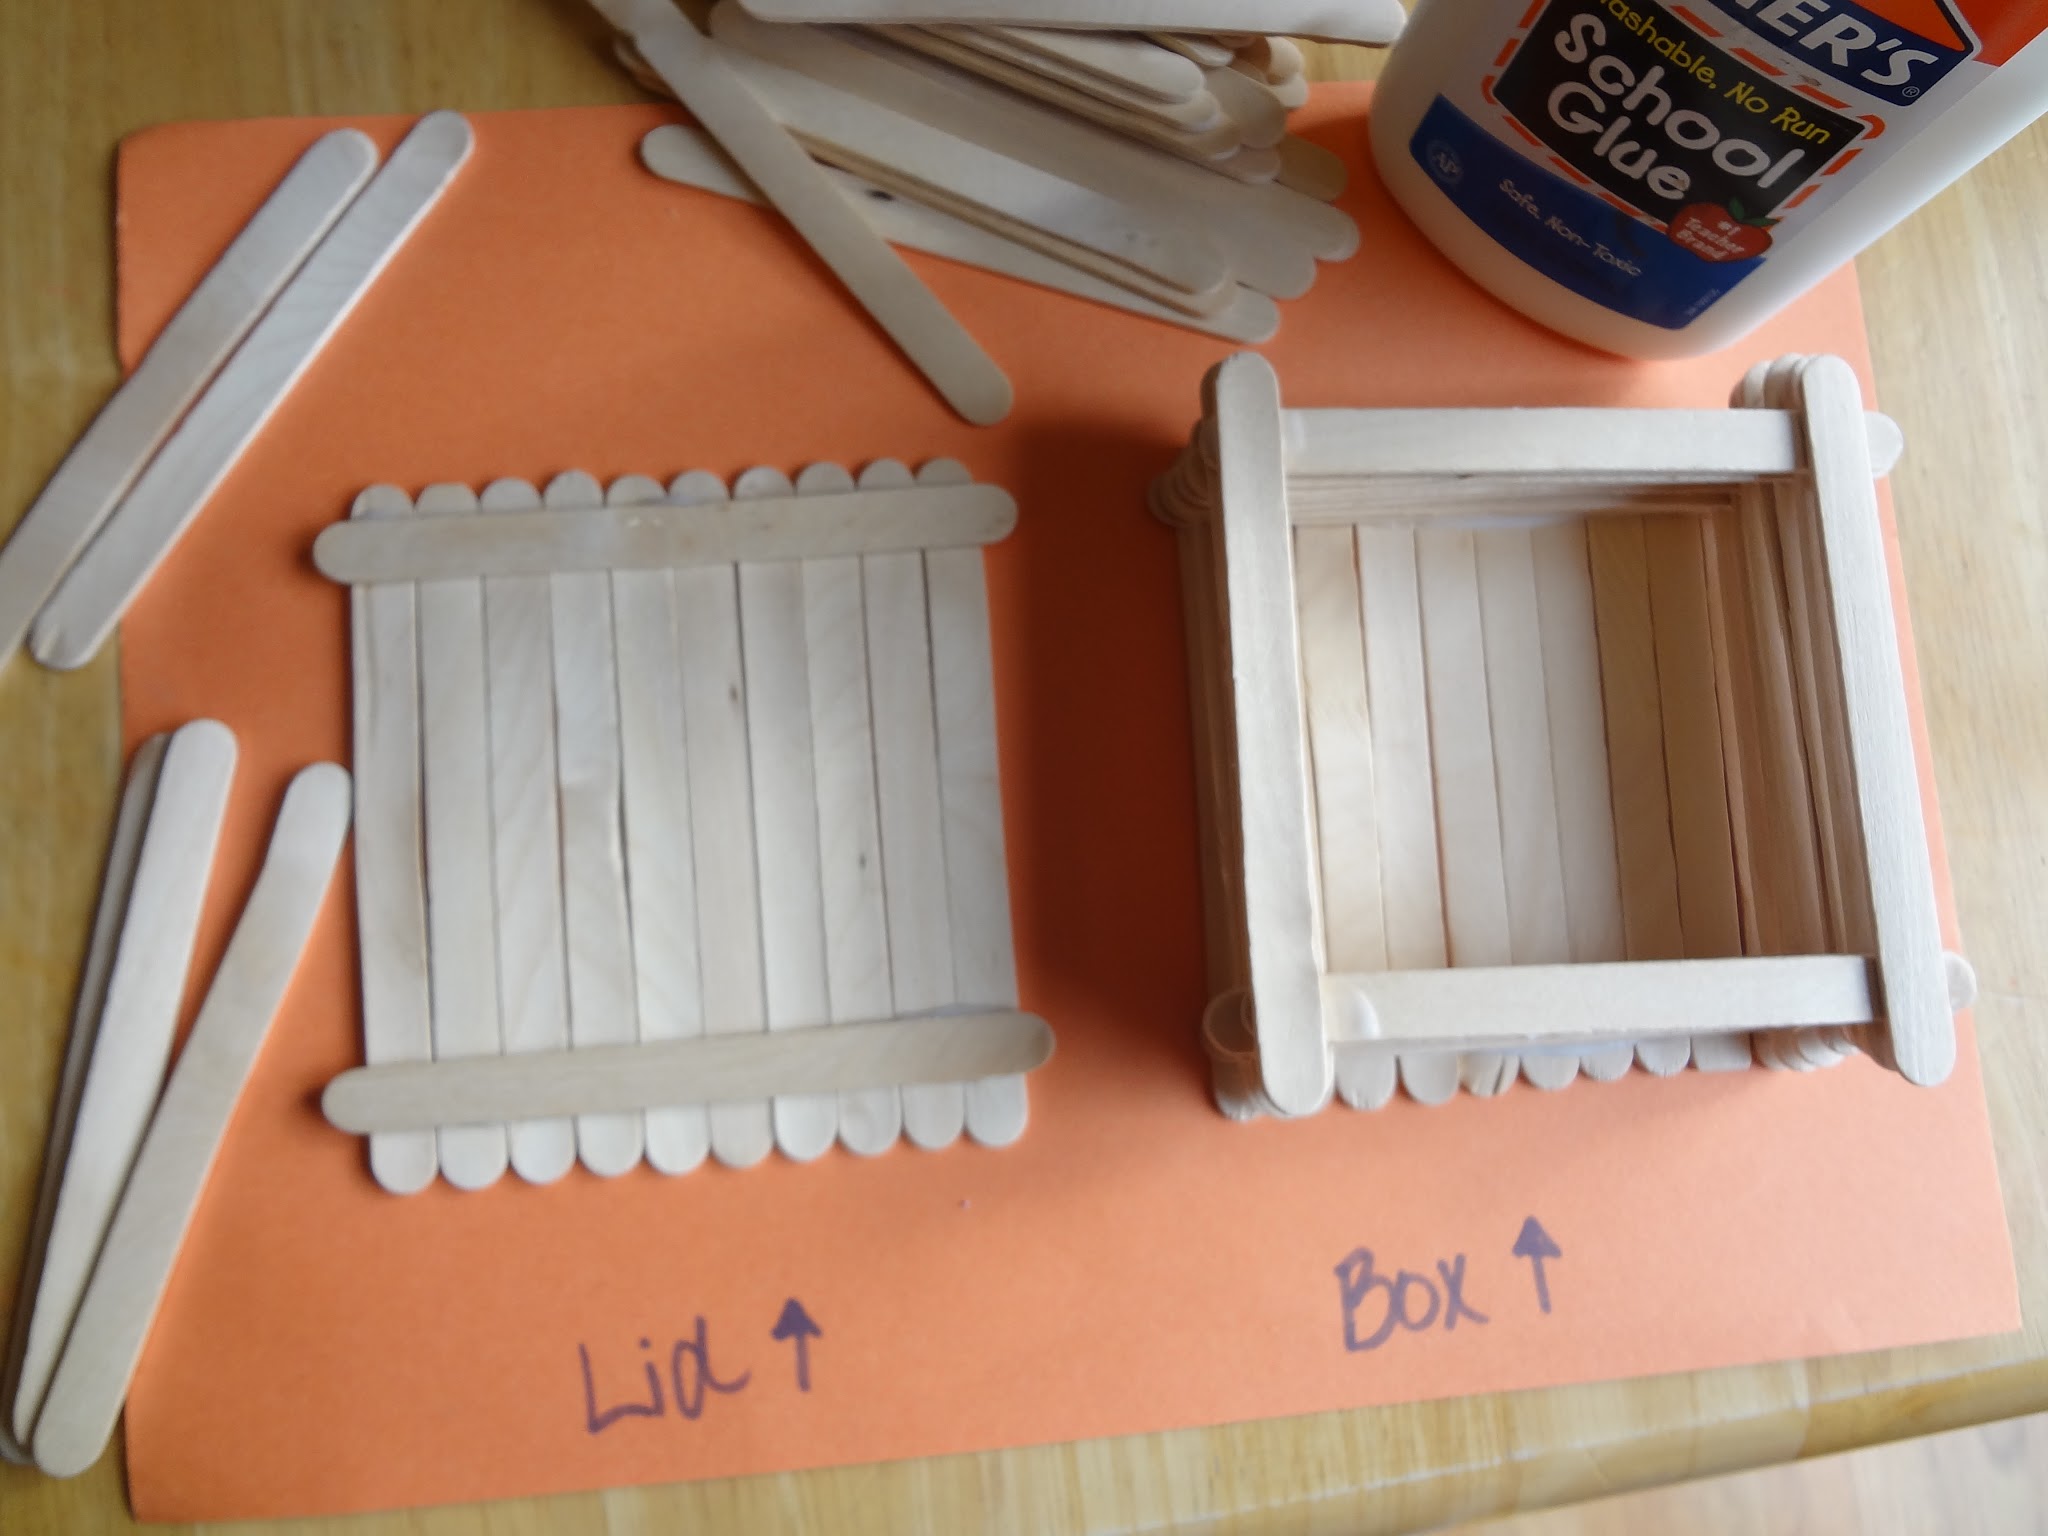
To start, just lay out 10 sticks for the bottom and 10 for the lid…
Run a stripe of glue along the next stick like so…
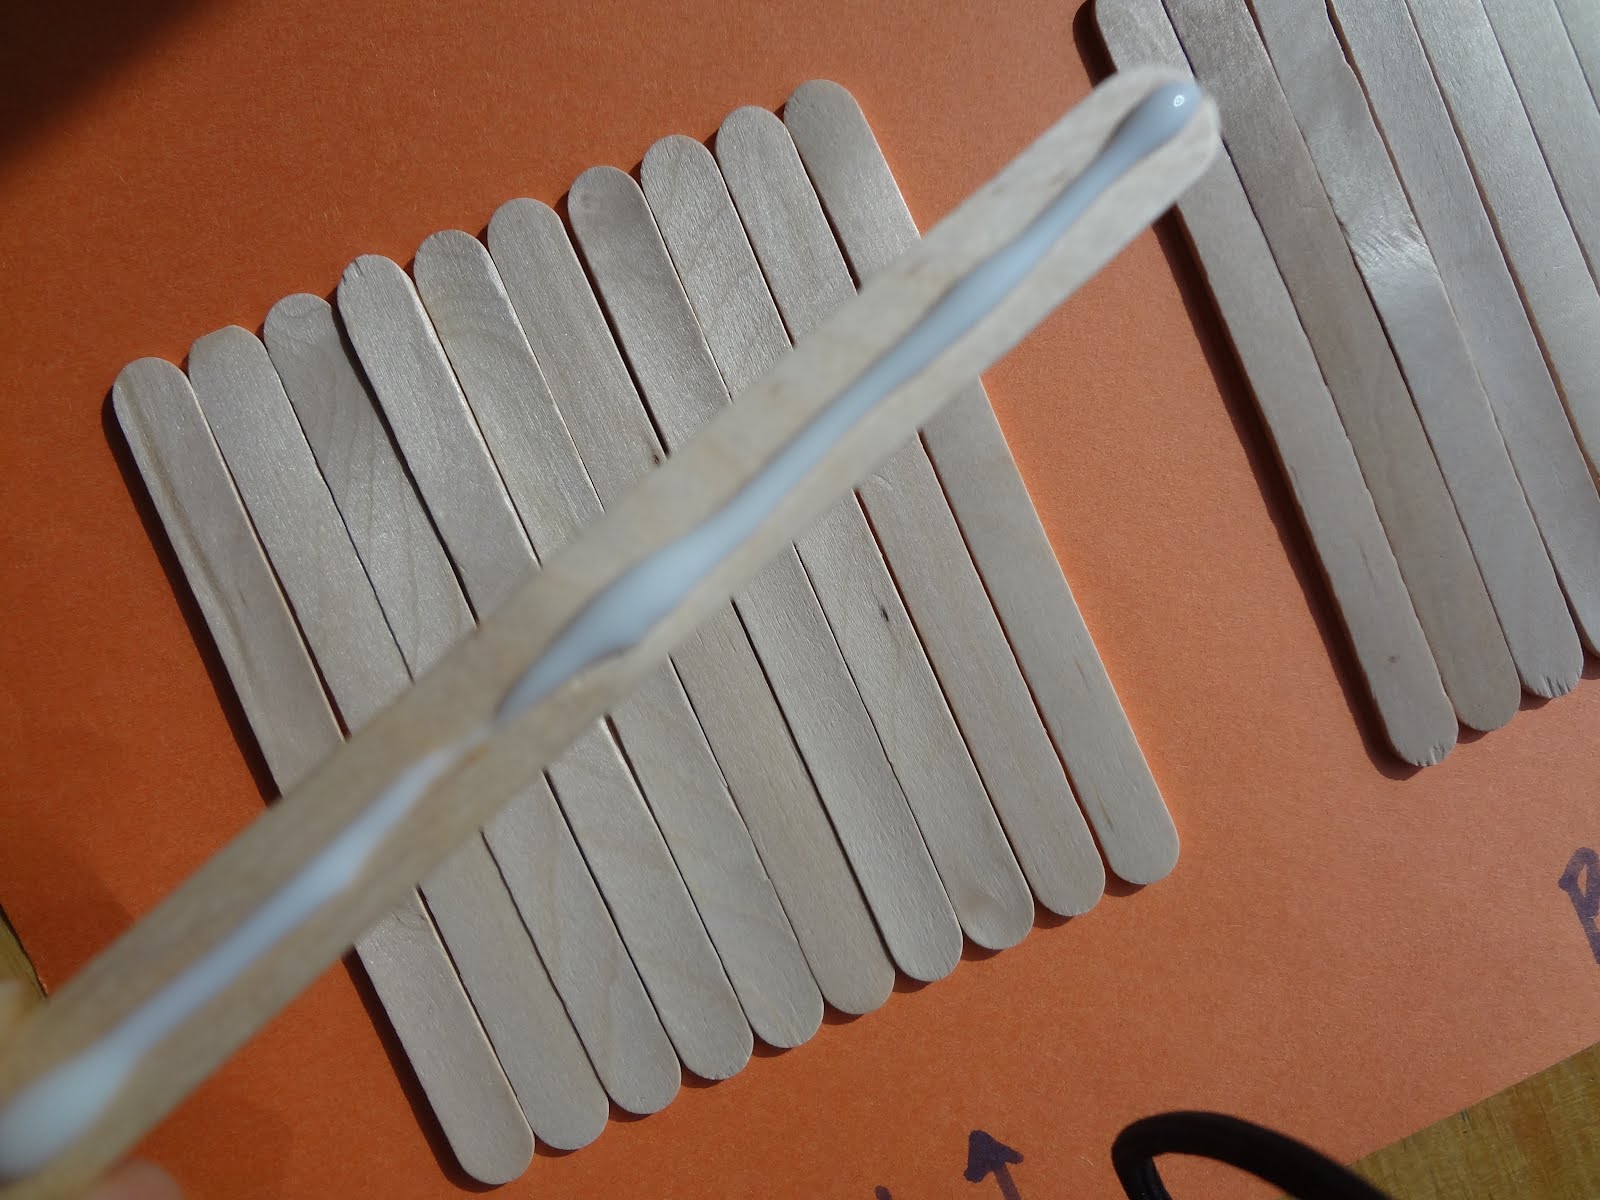
Then 3 more, then place them as shown below…
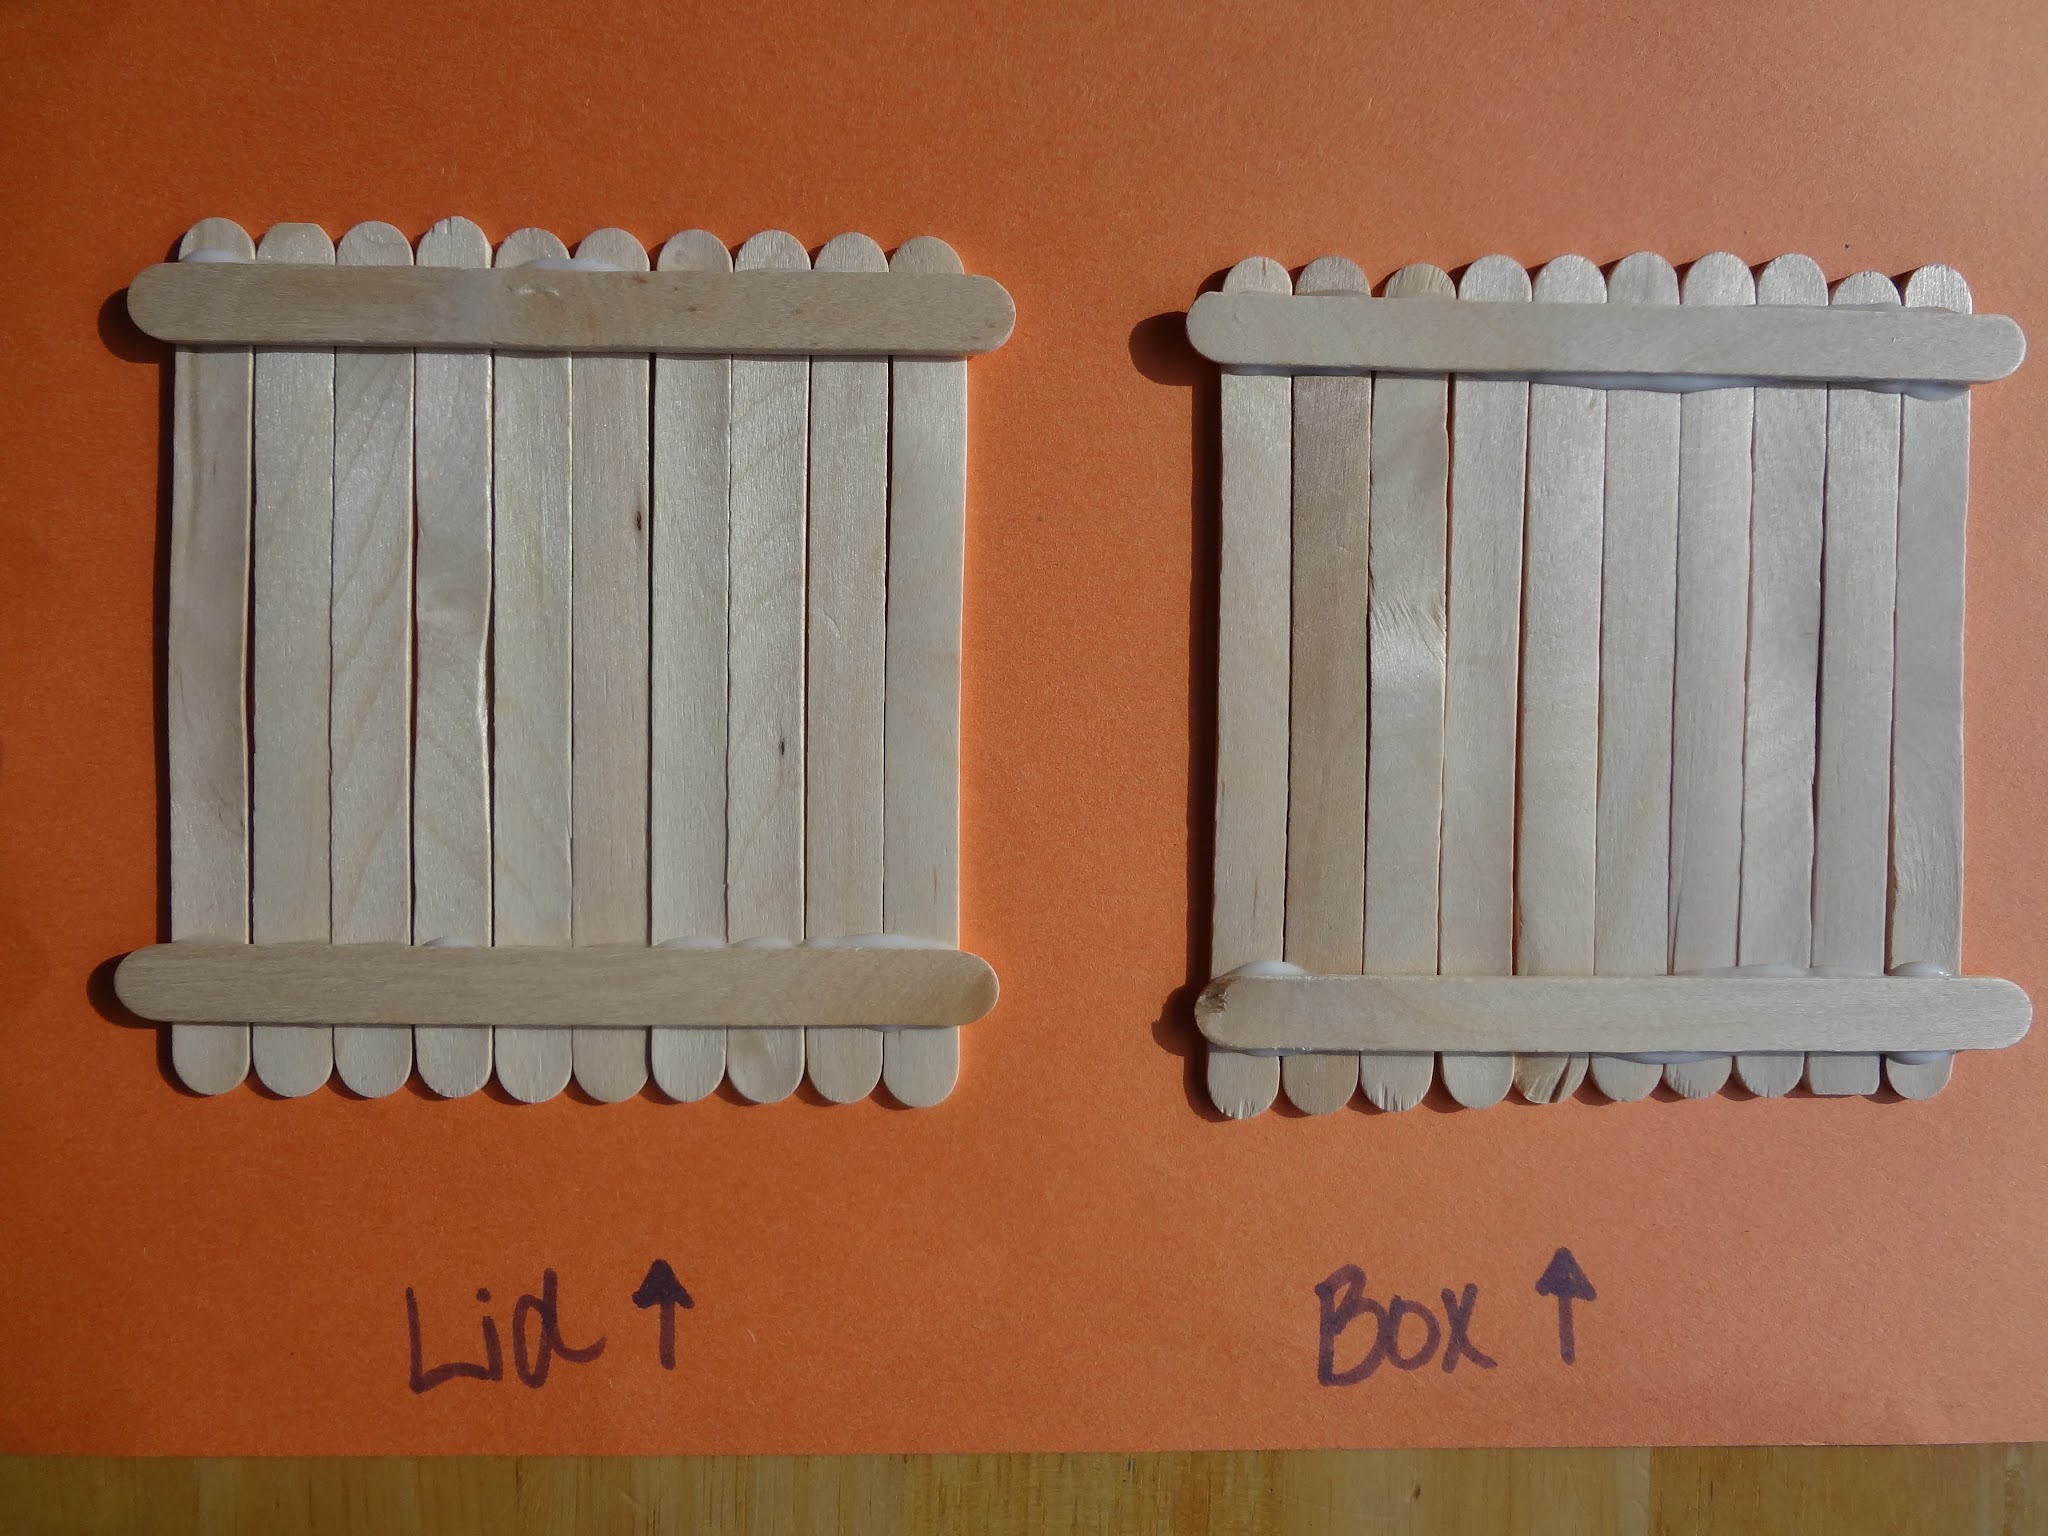
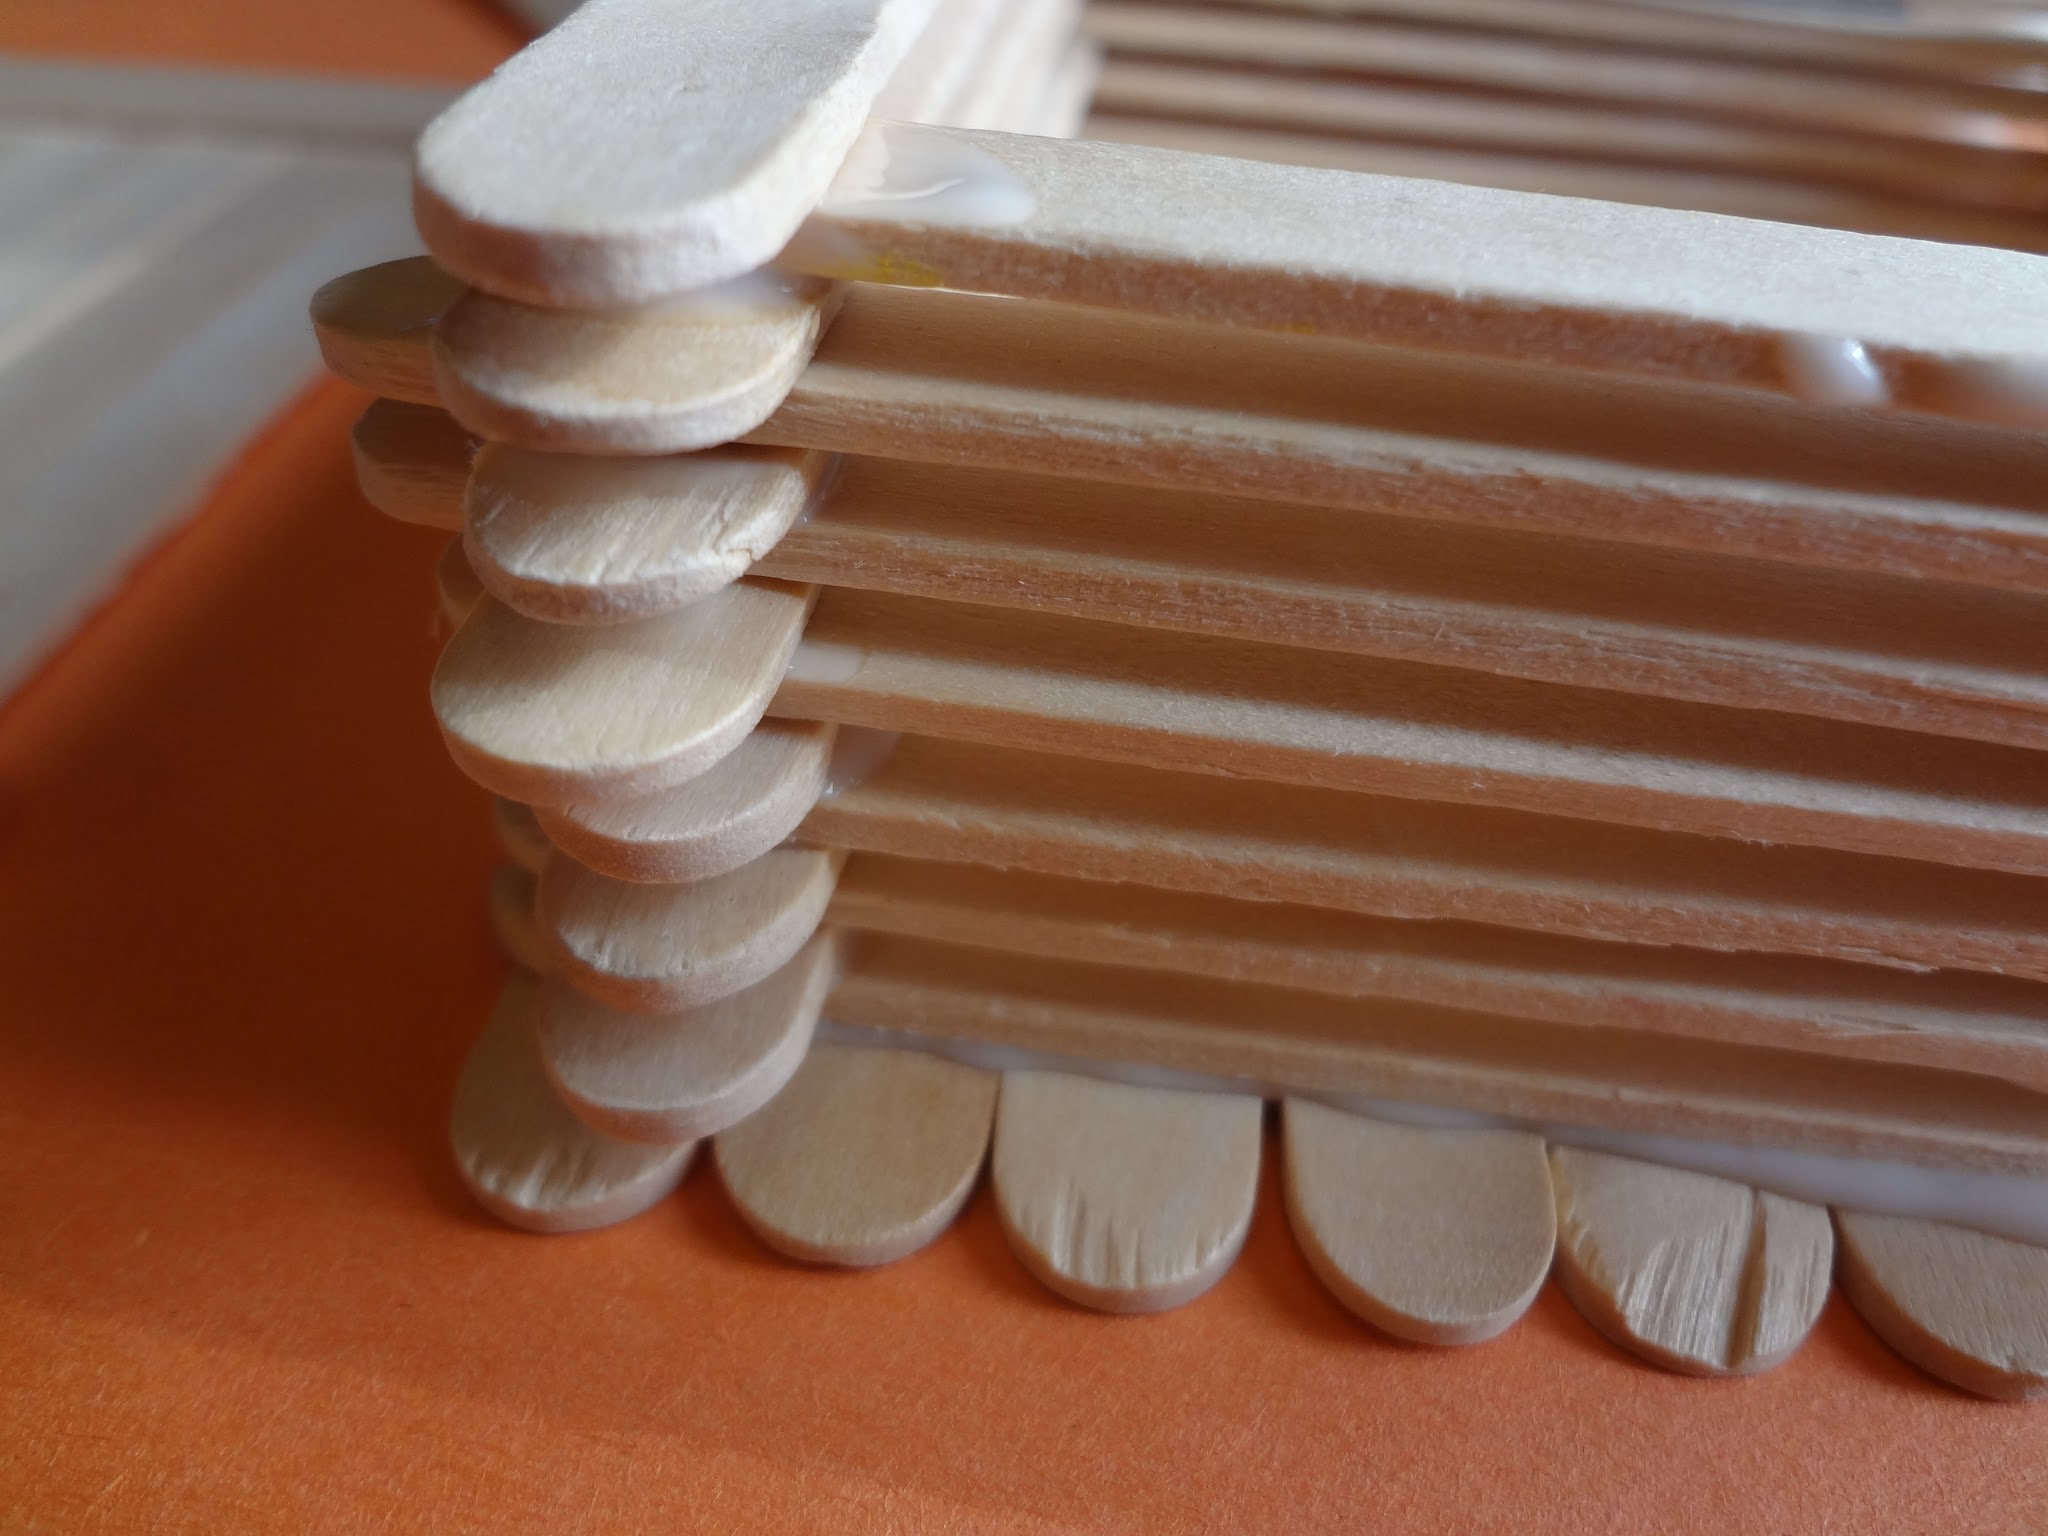
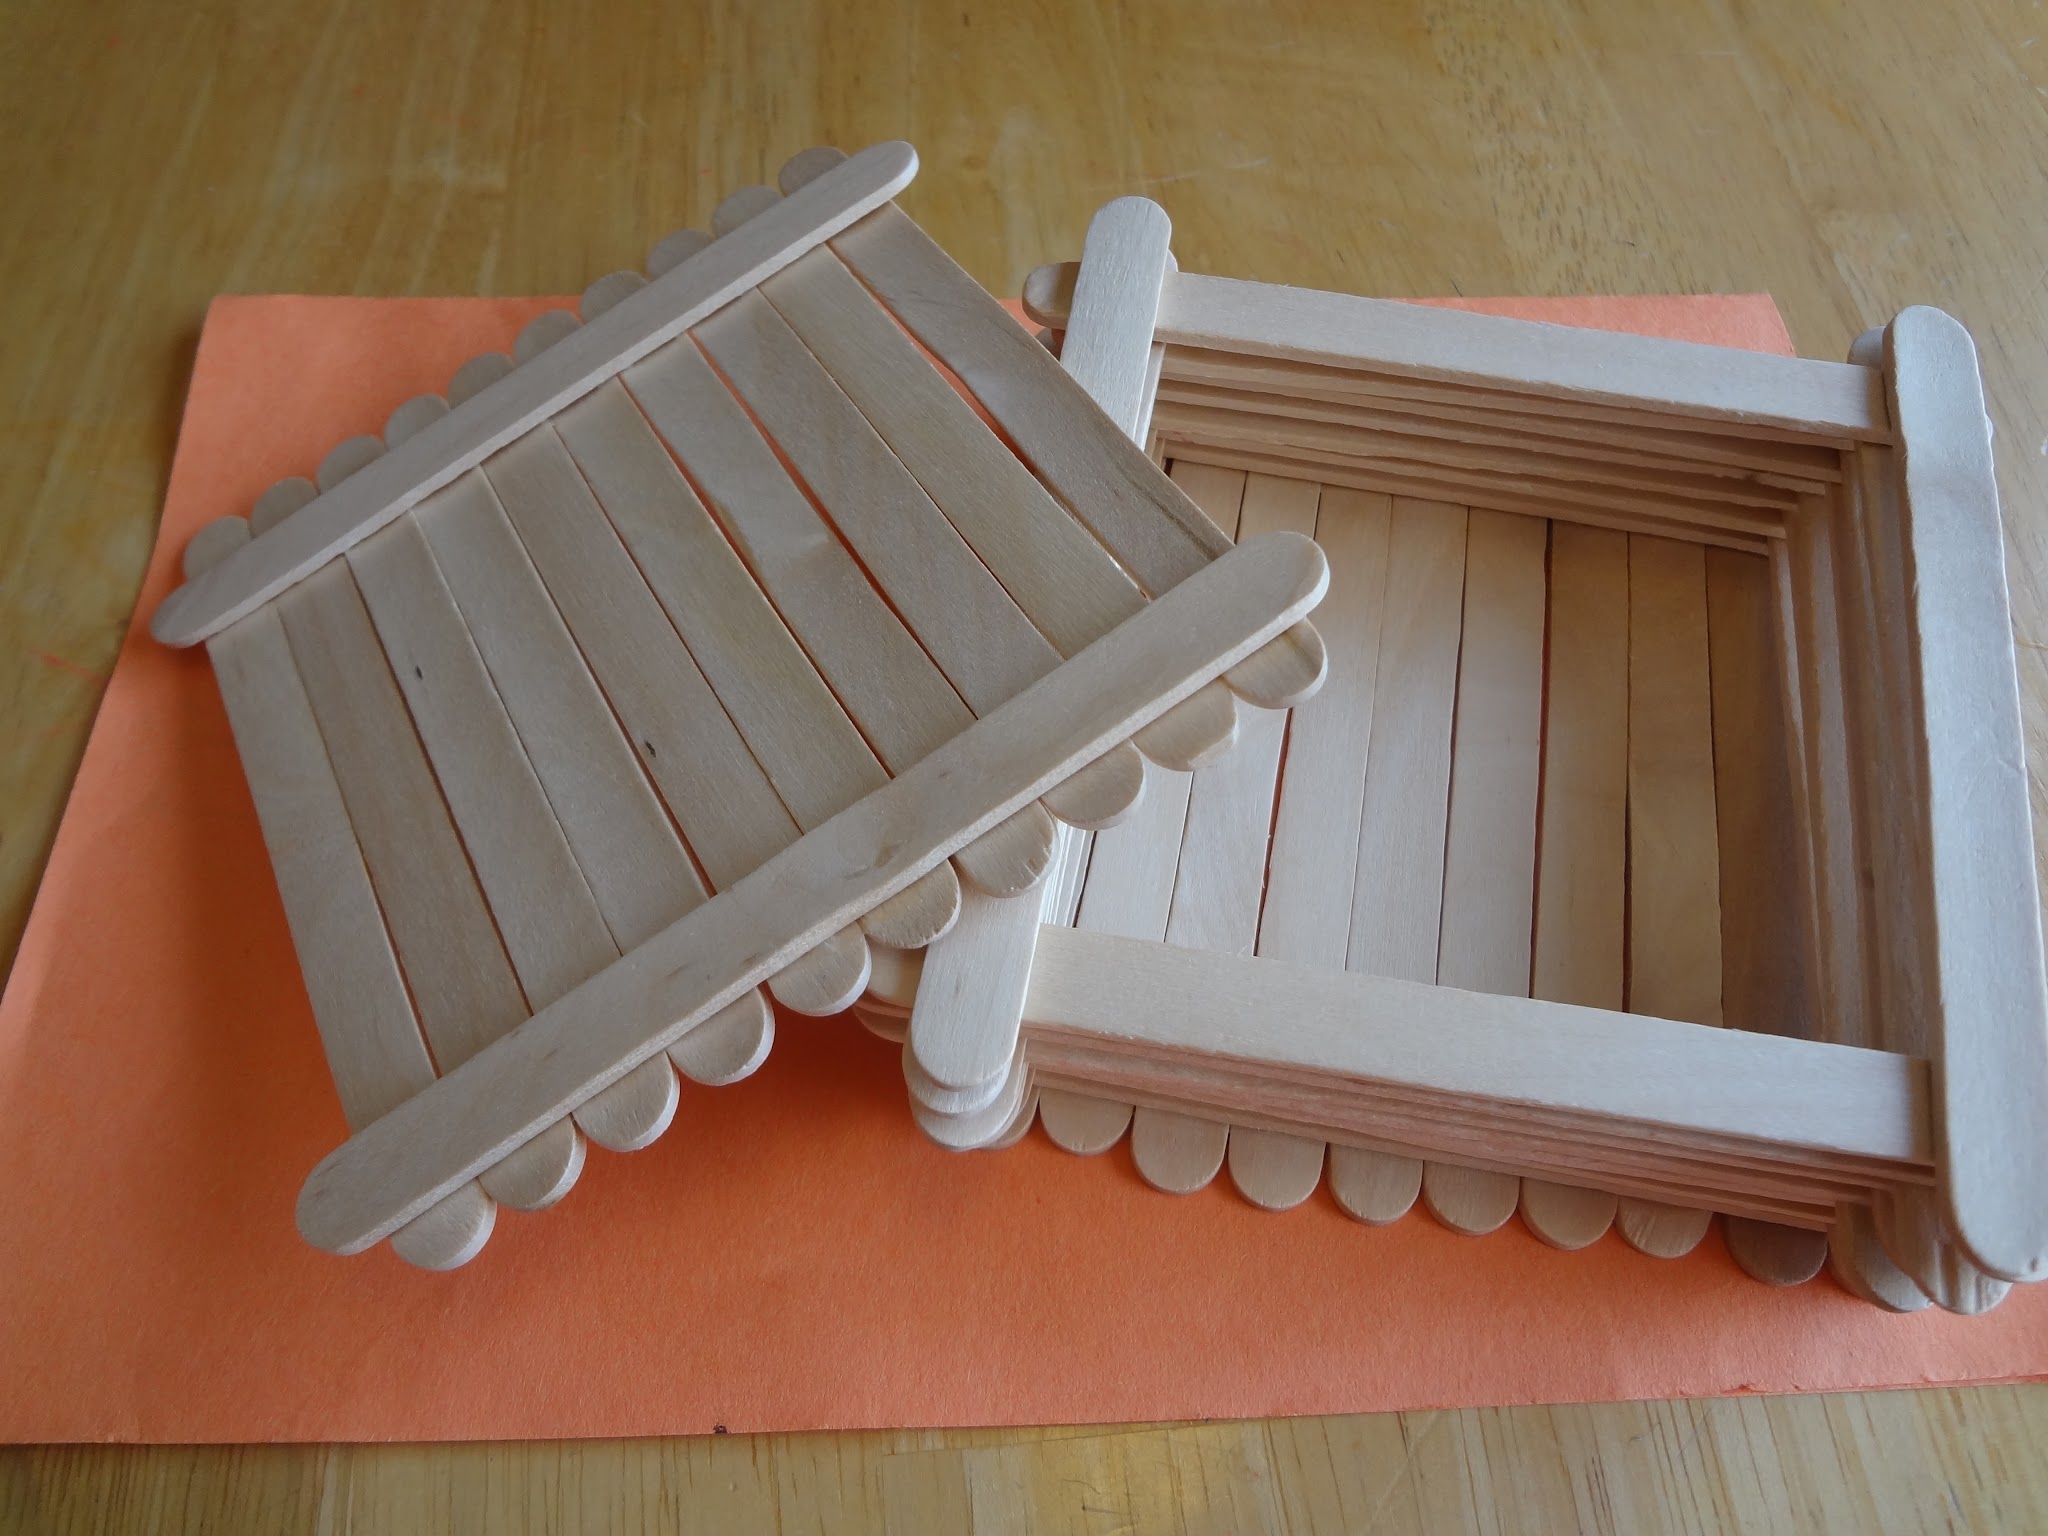
Now your lid is finished! On to the box bottom. With the first layer, place a glue bead at either end of a stick and begin to stack them as shown (kind of like a log cabin).
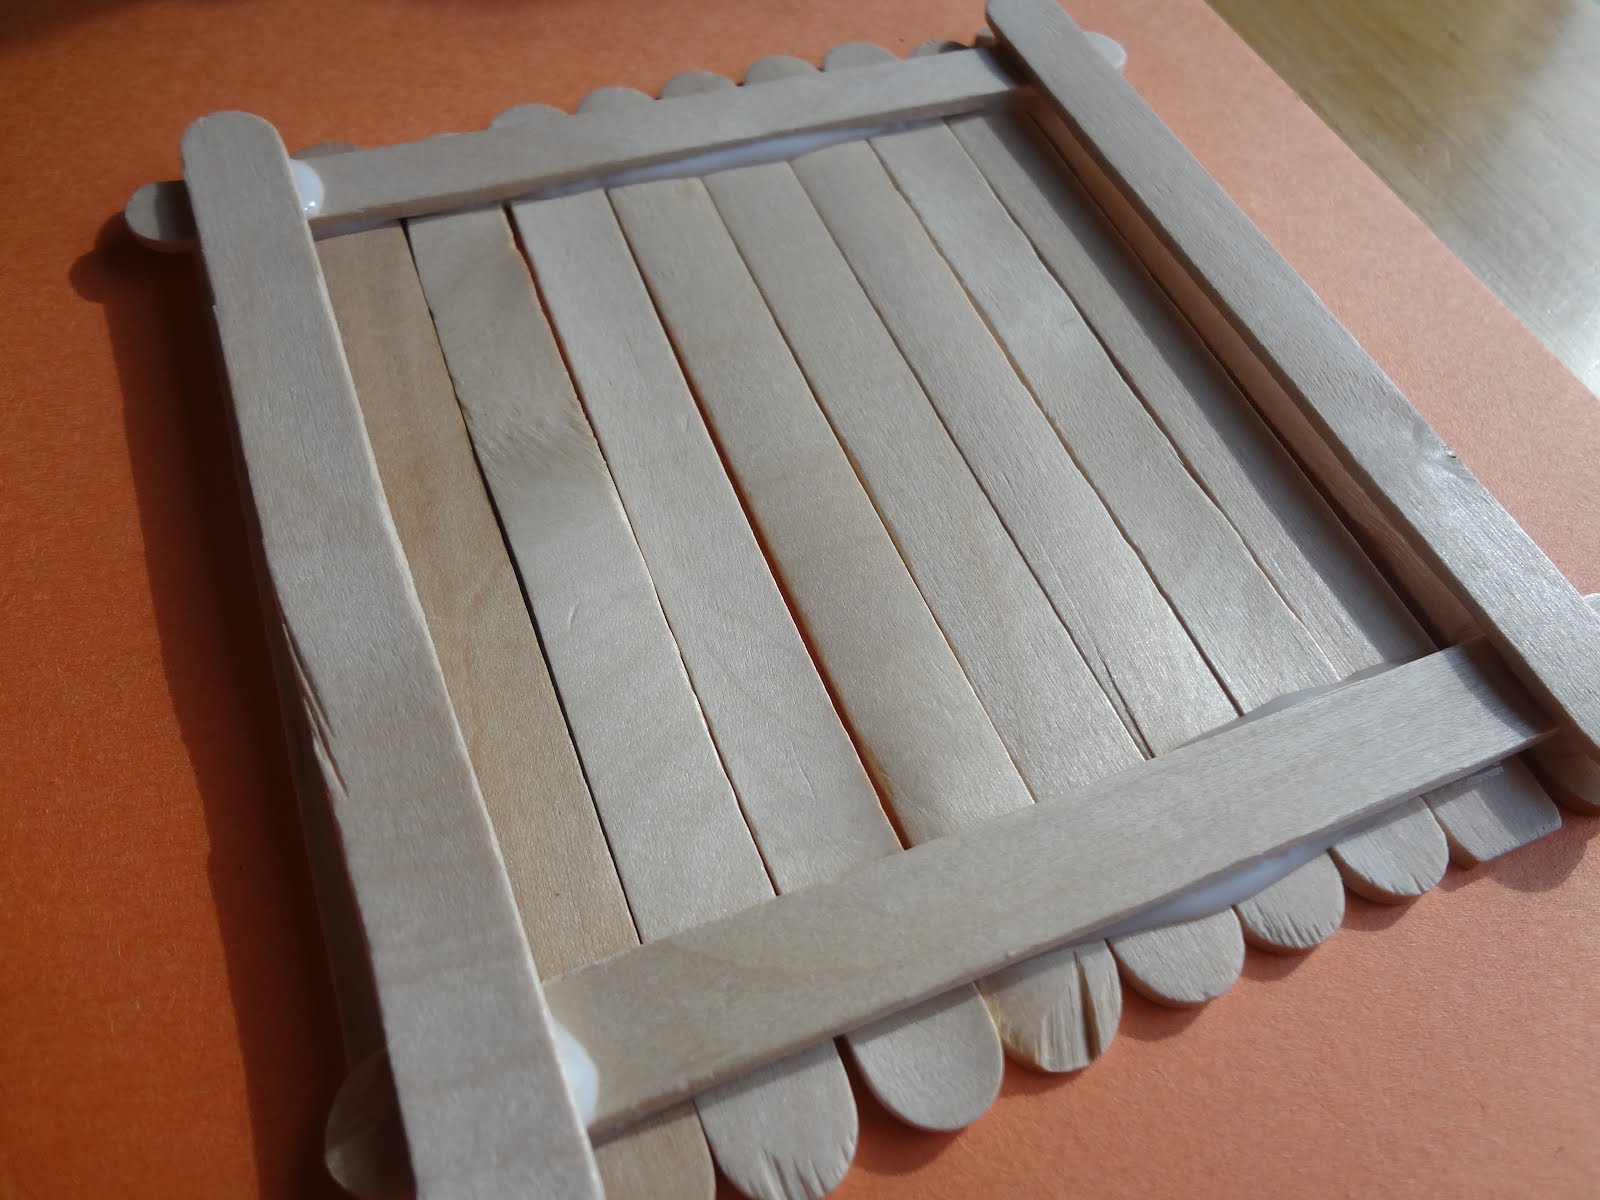
Keep going in this manner until the box is the height you want it to be…
At this point, you can straighten up you sticks if you need to while the glue is still wet.
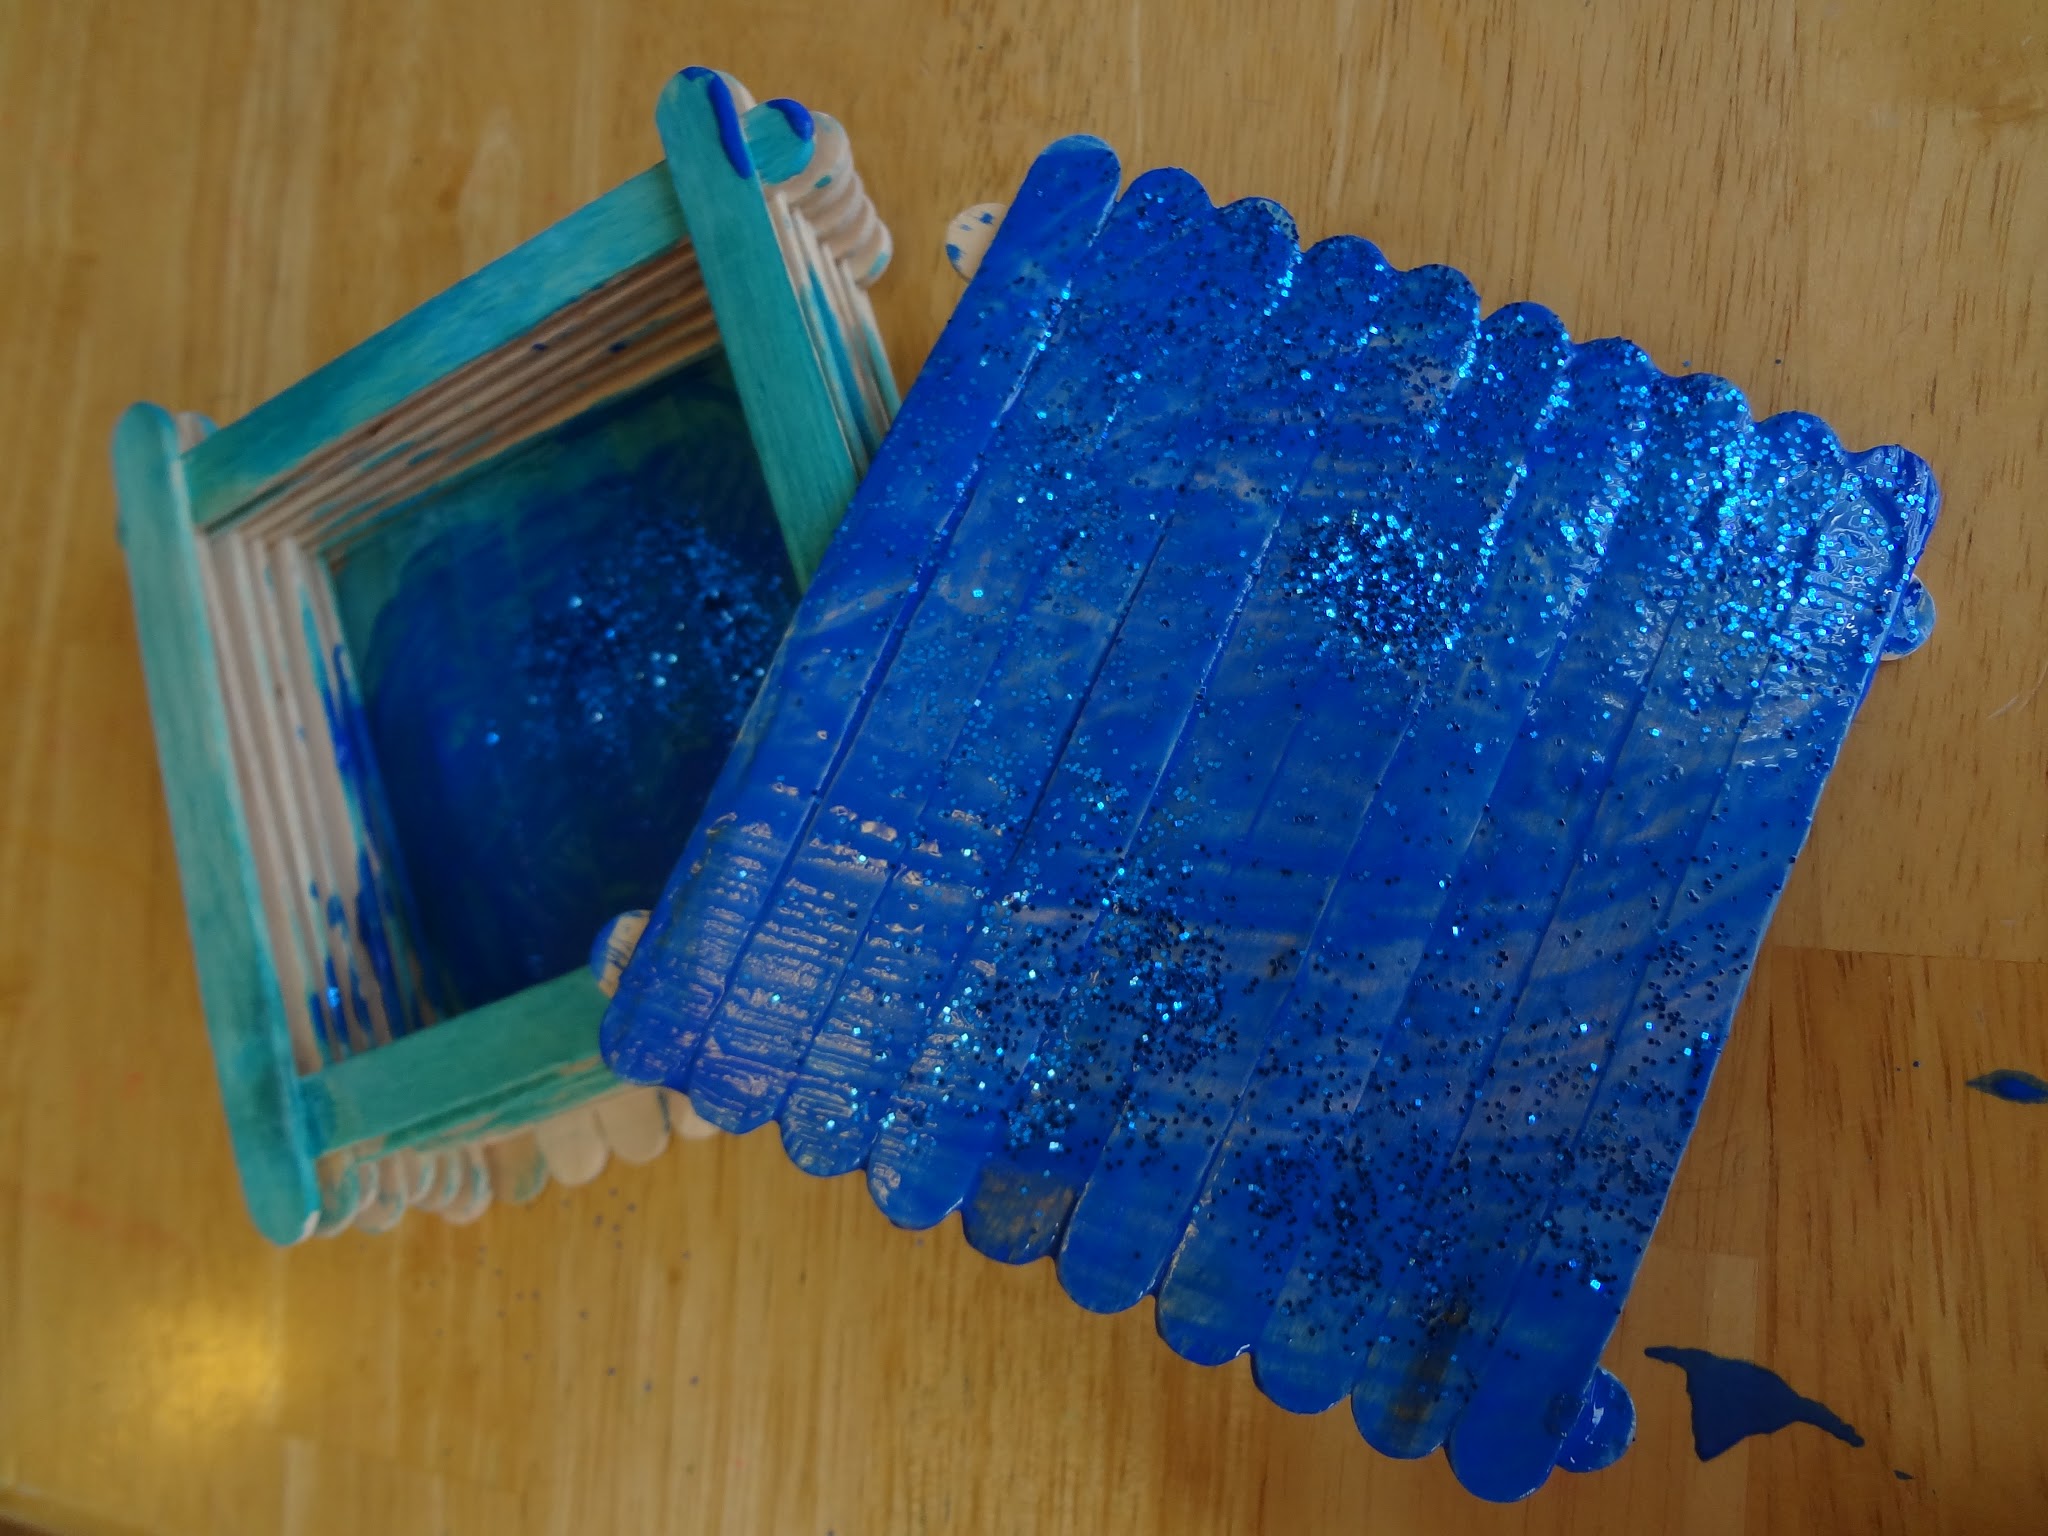
There you go! Your box is complete! Now on to decorating…
We painted ours with tempera paints. You could also try watercolors, they’ll soak into the wood more making a “stained” effect.
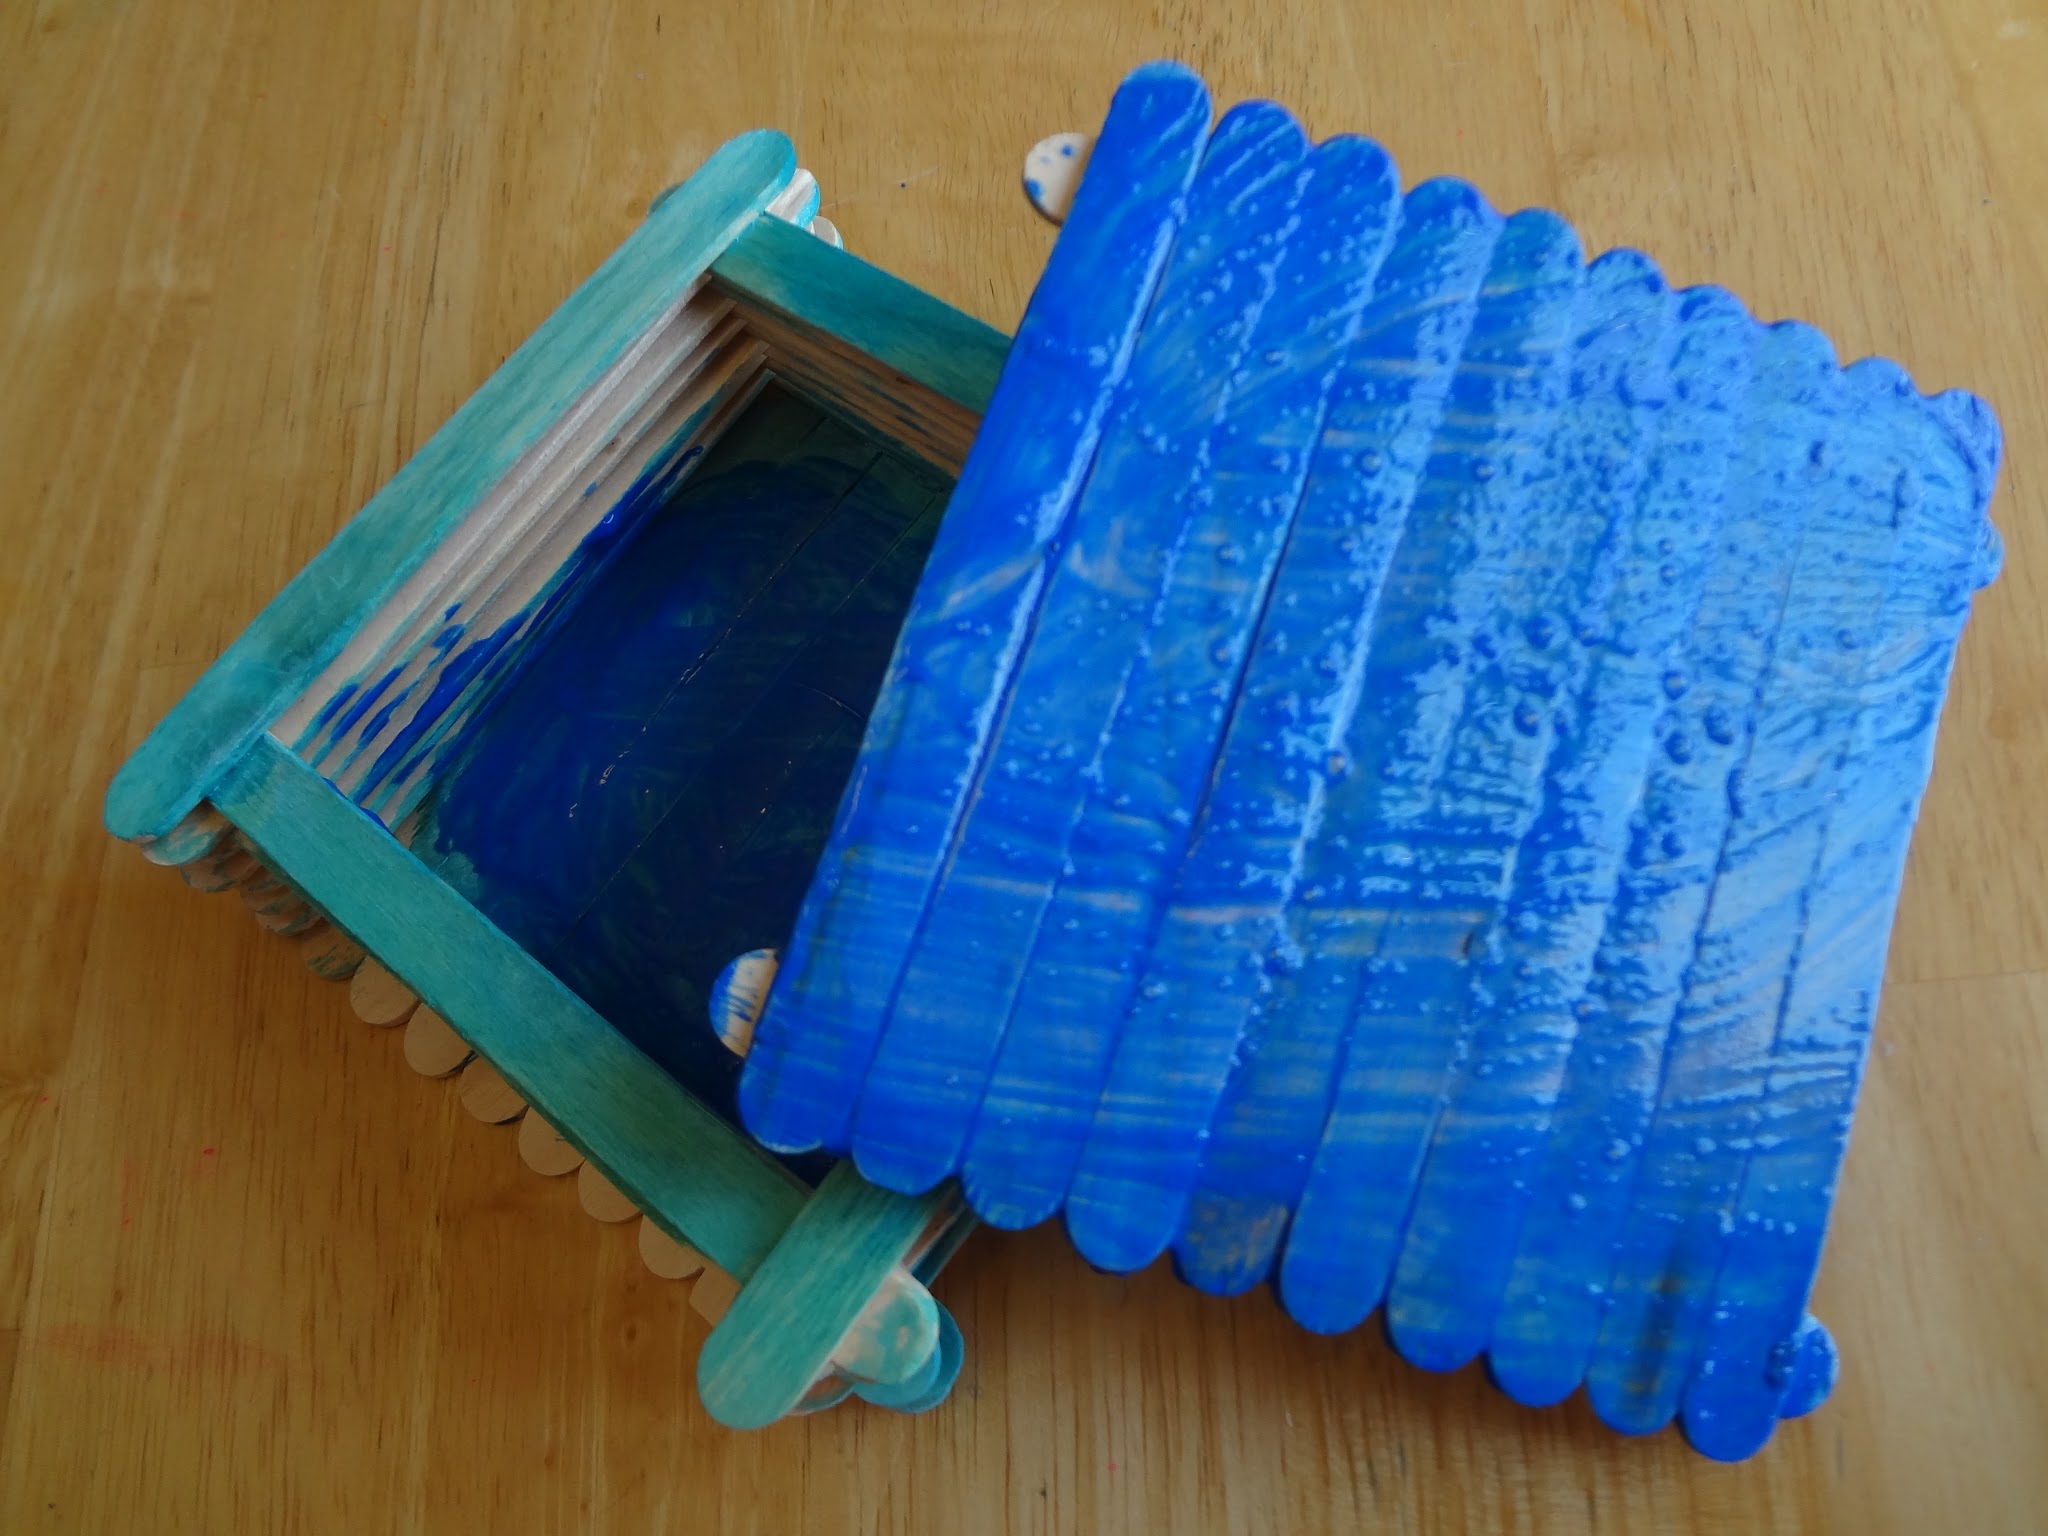
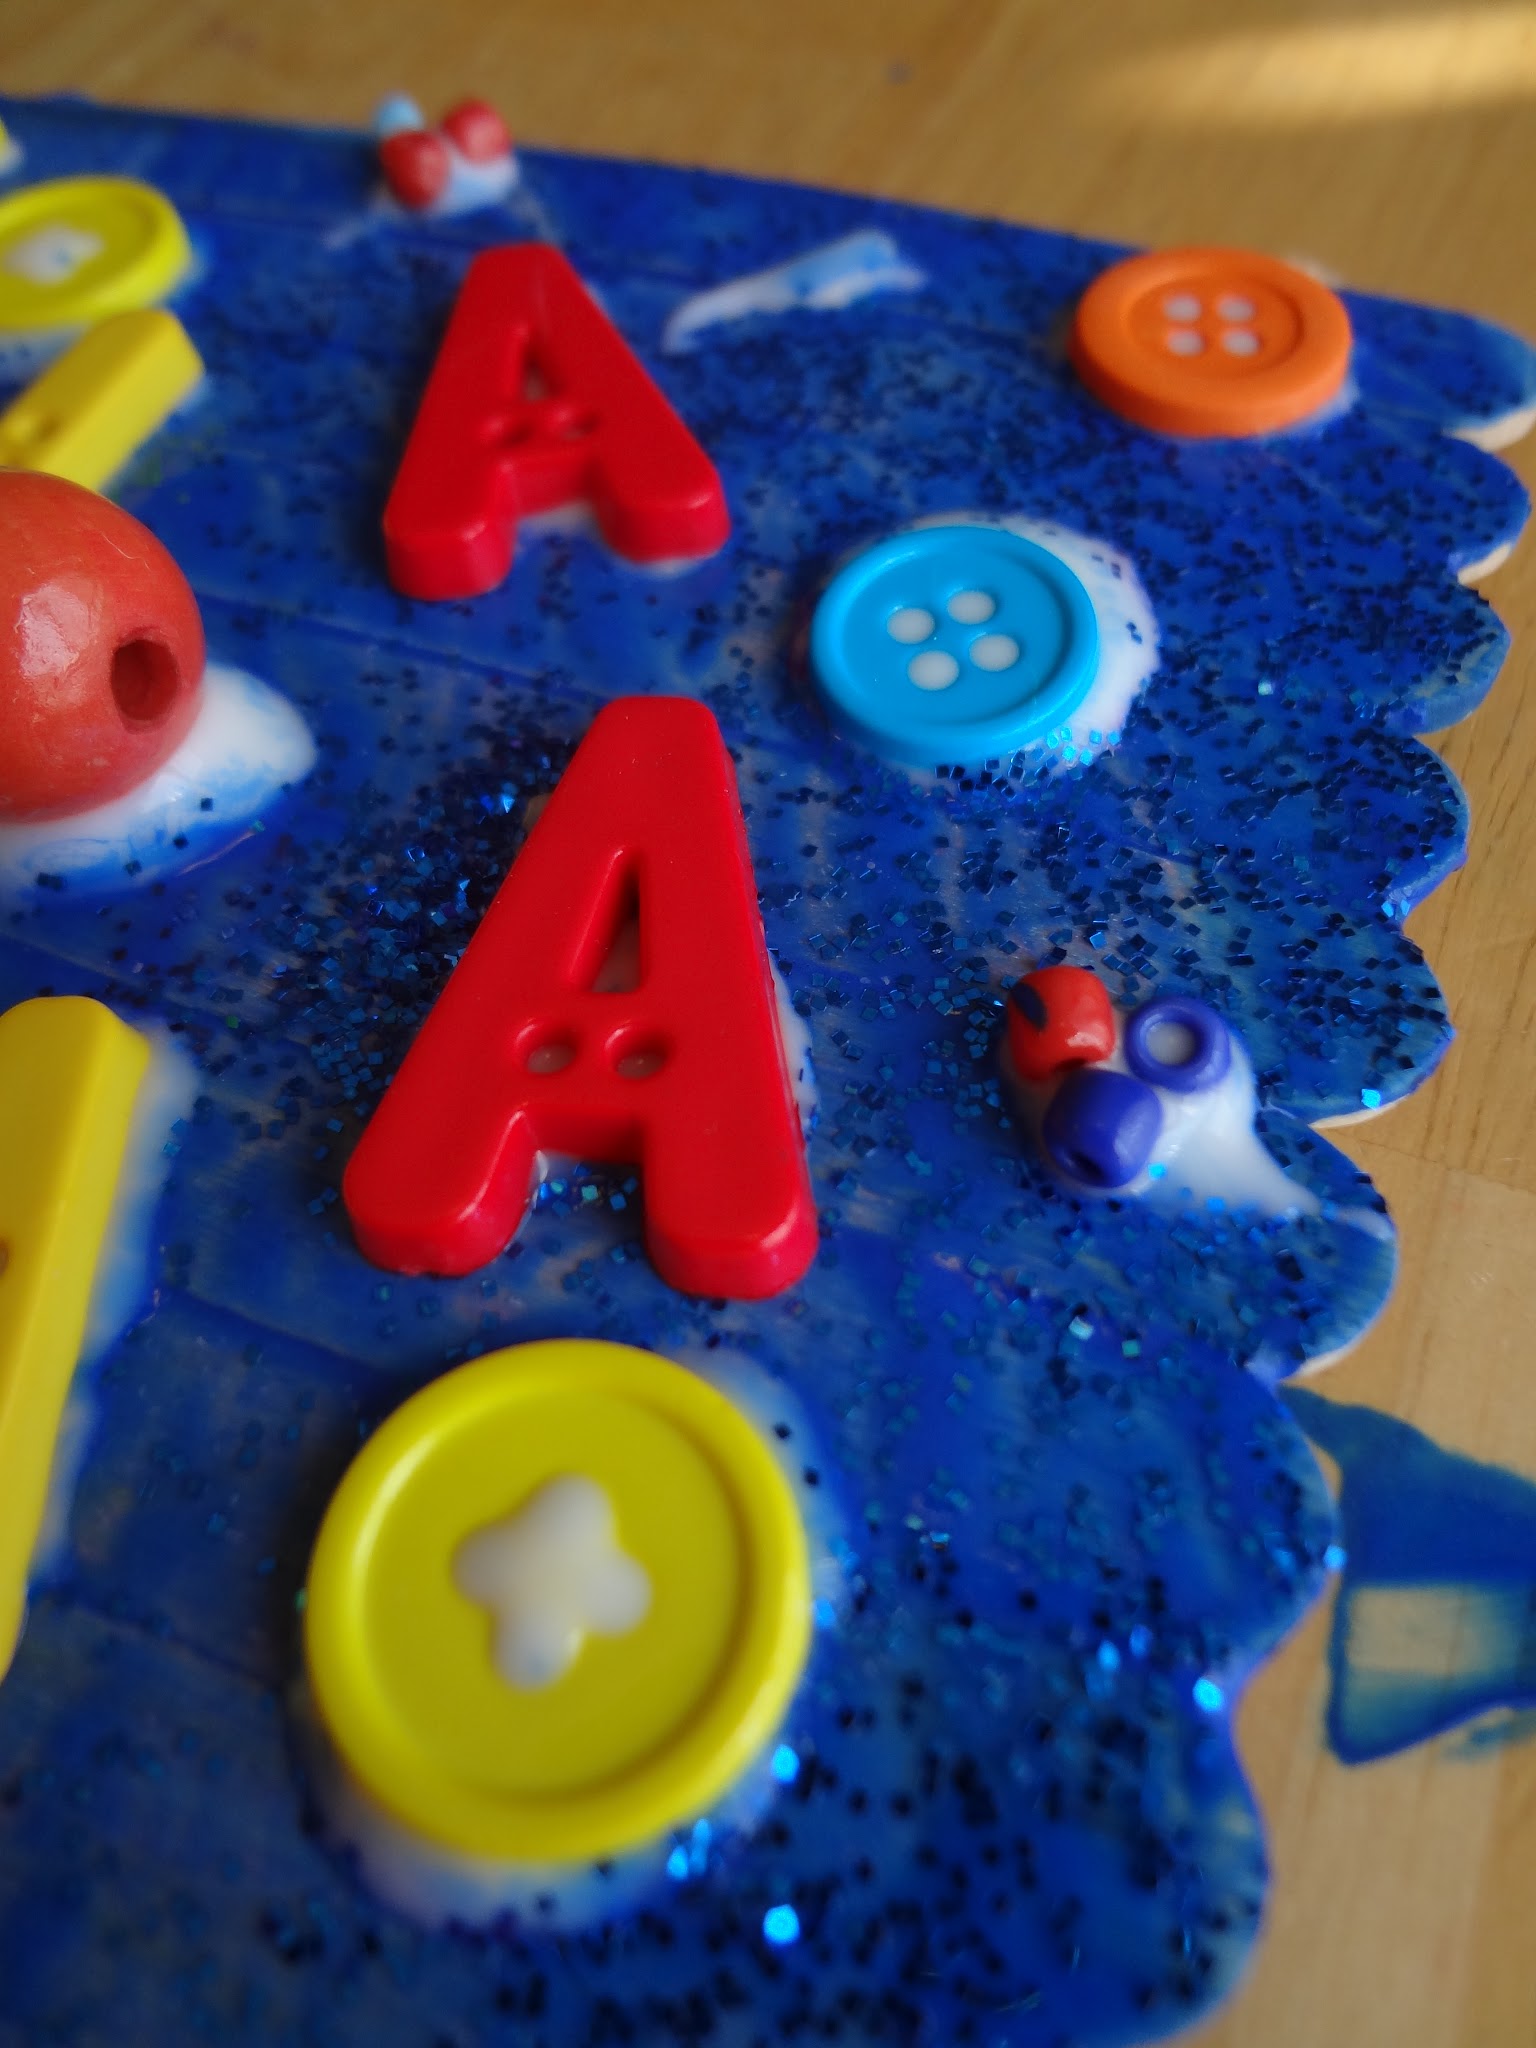
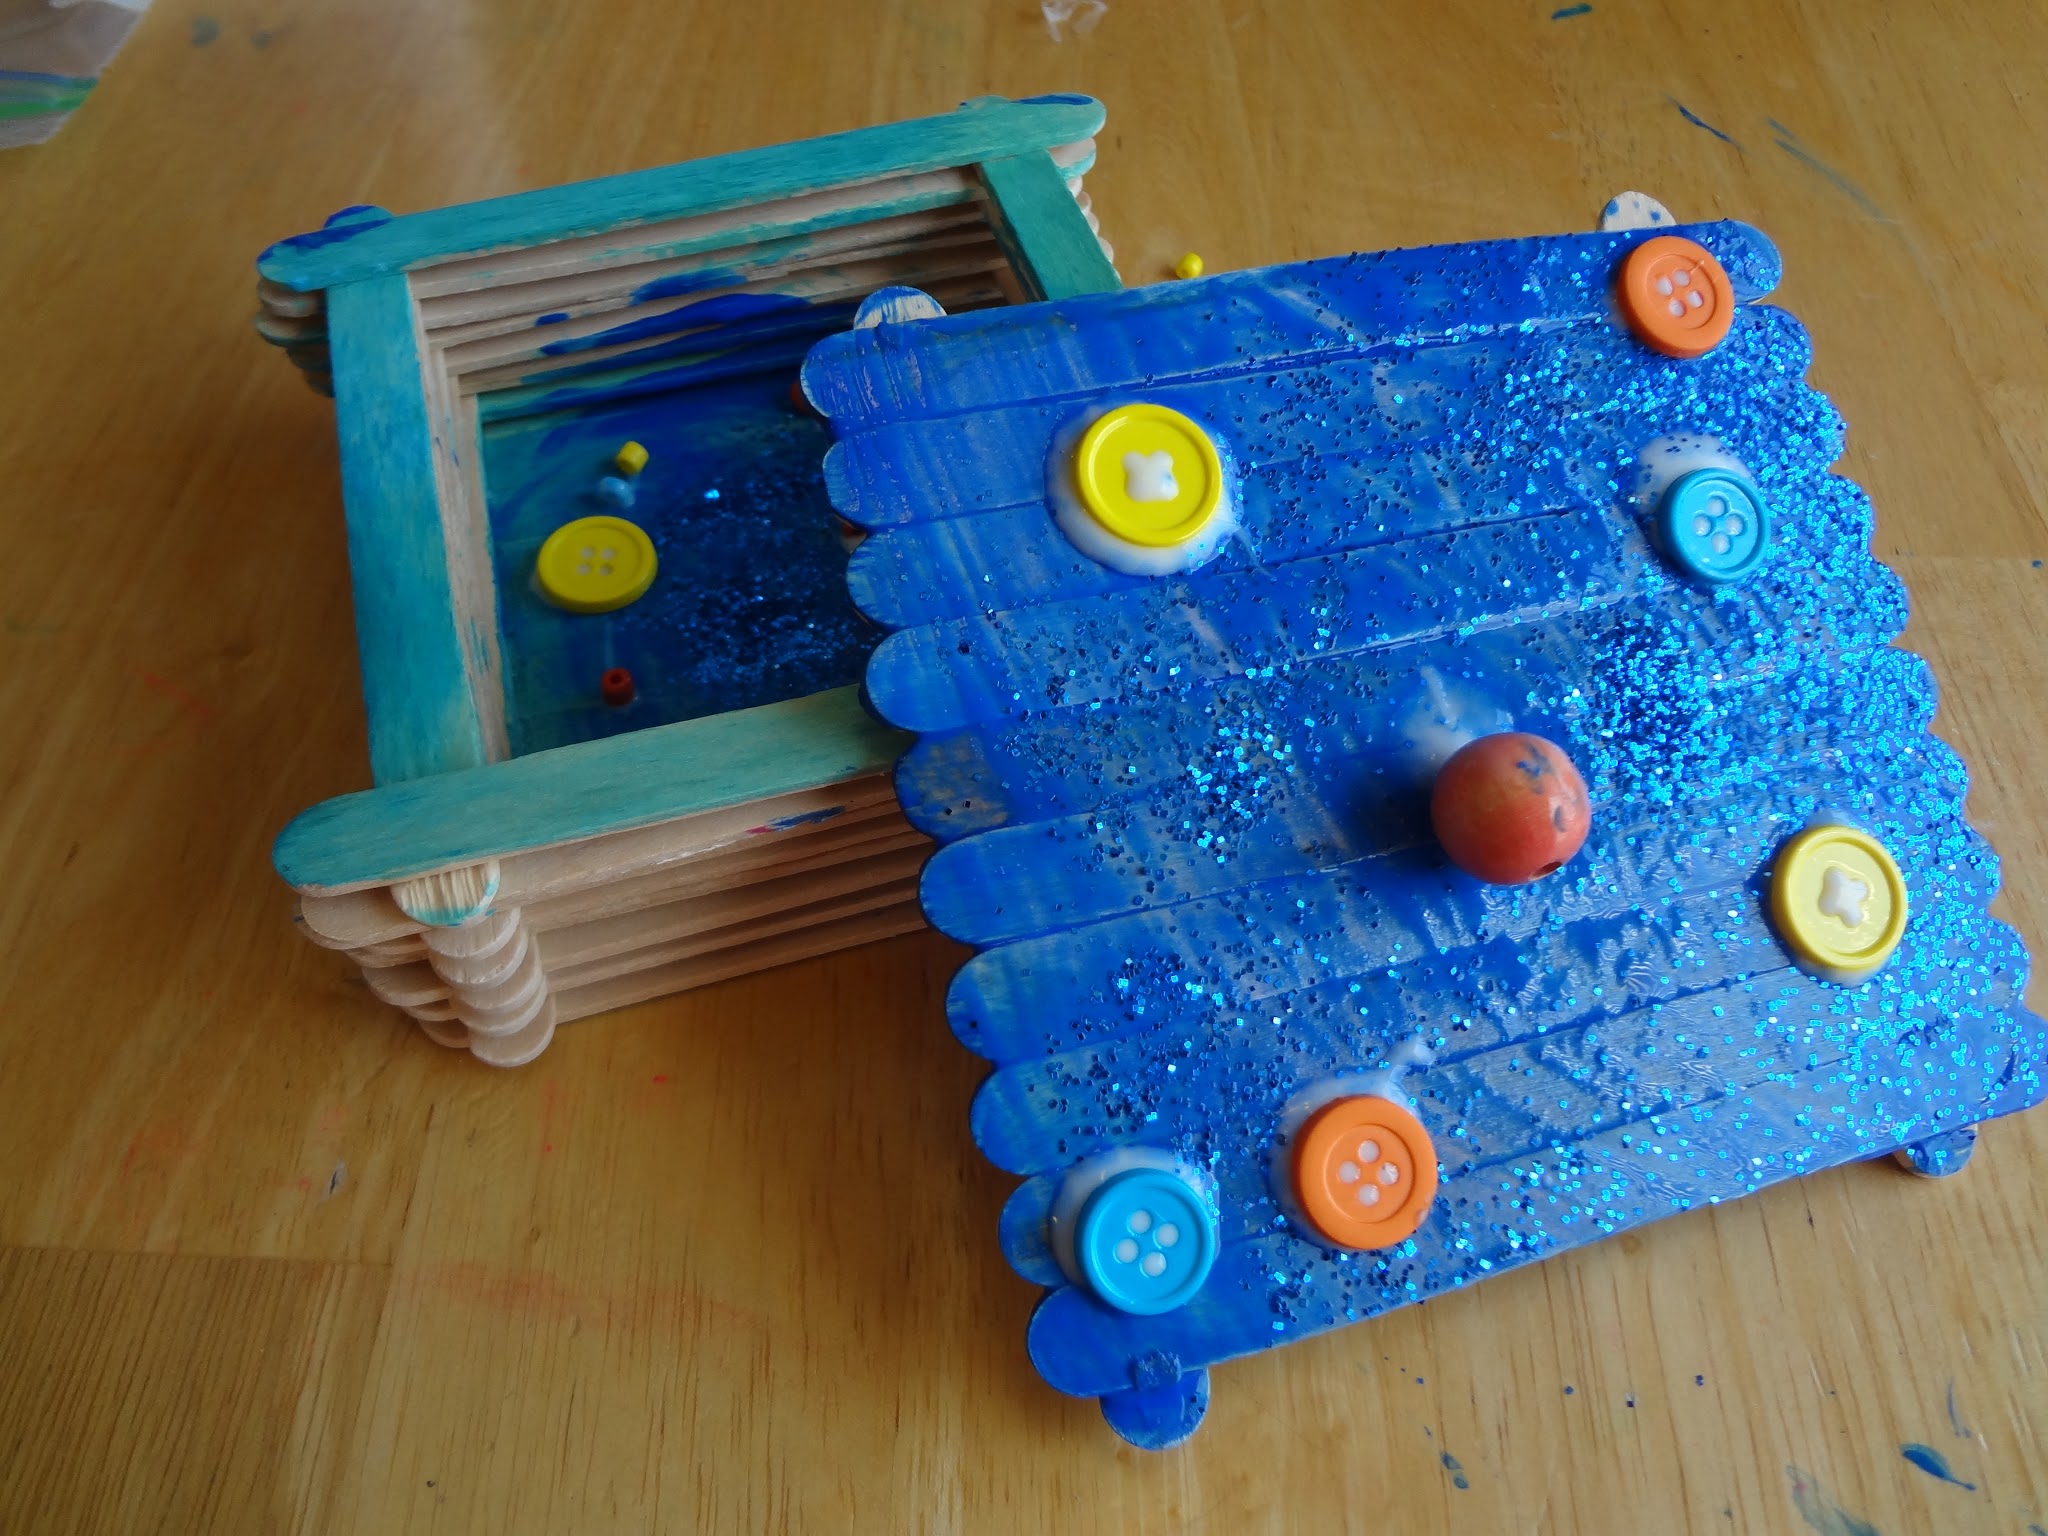
While the paint was still wet, we added a (generous) sprinkle of glitter too…
Then a large wooden bead for a “handle,”
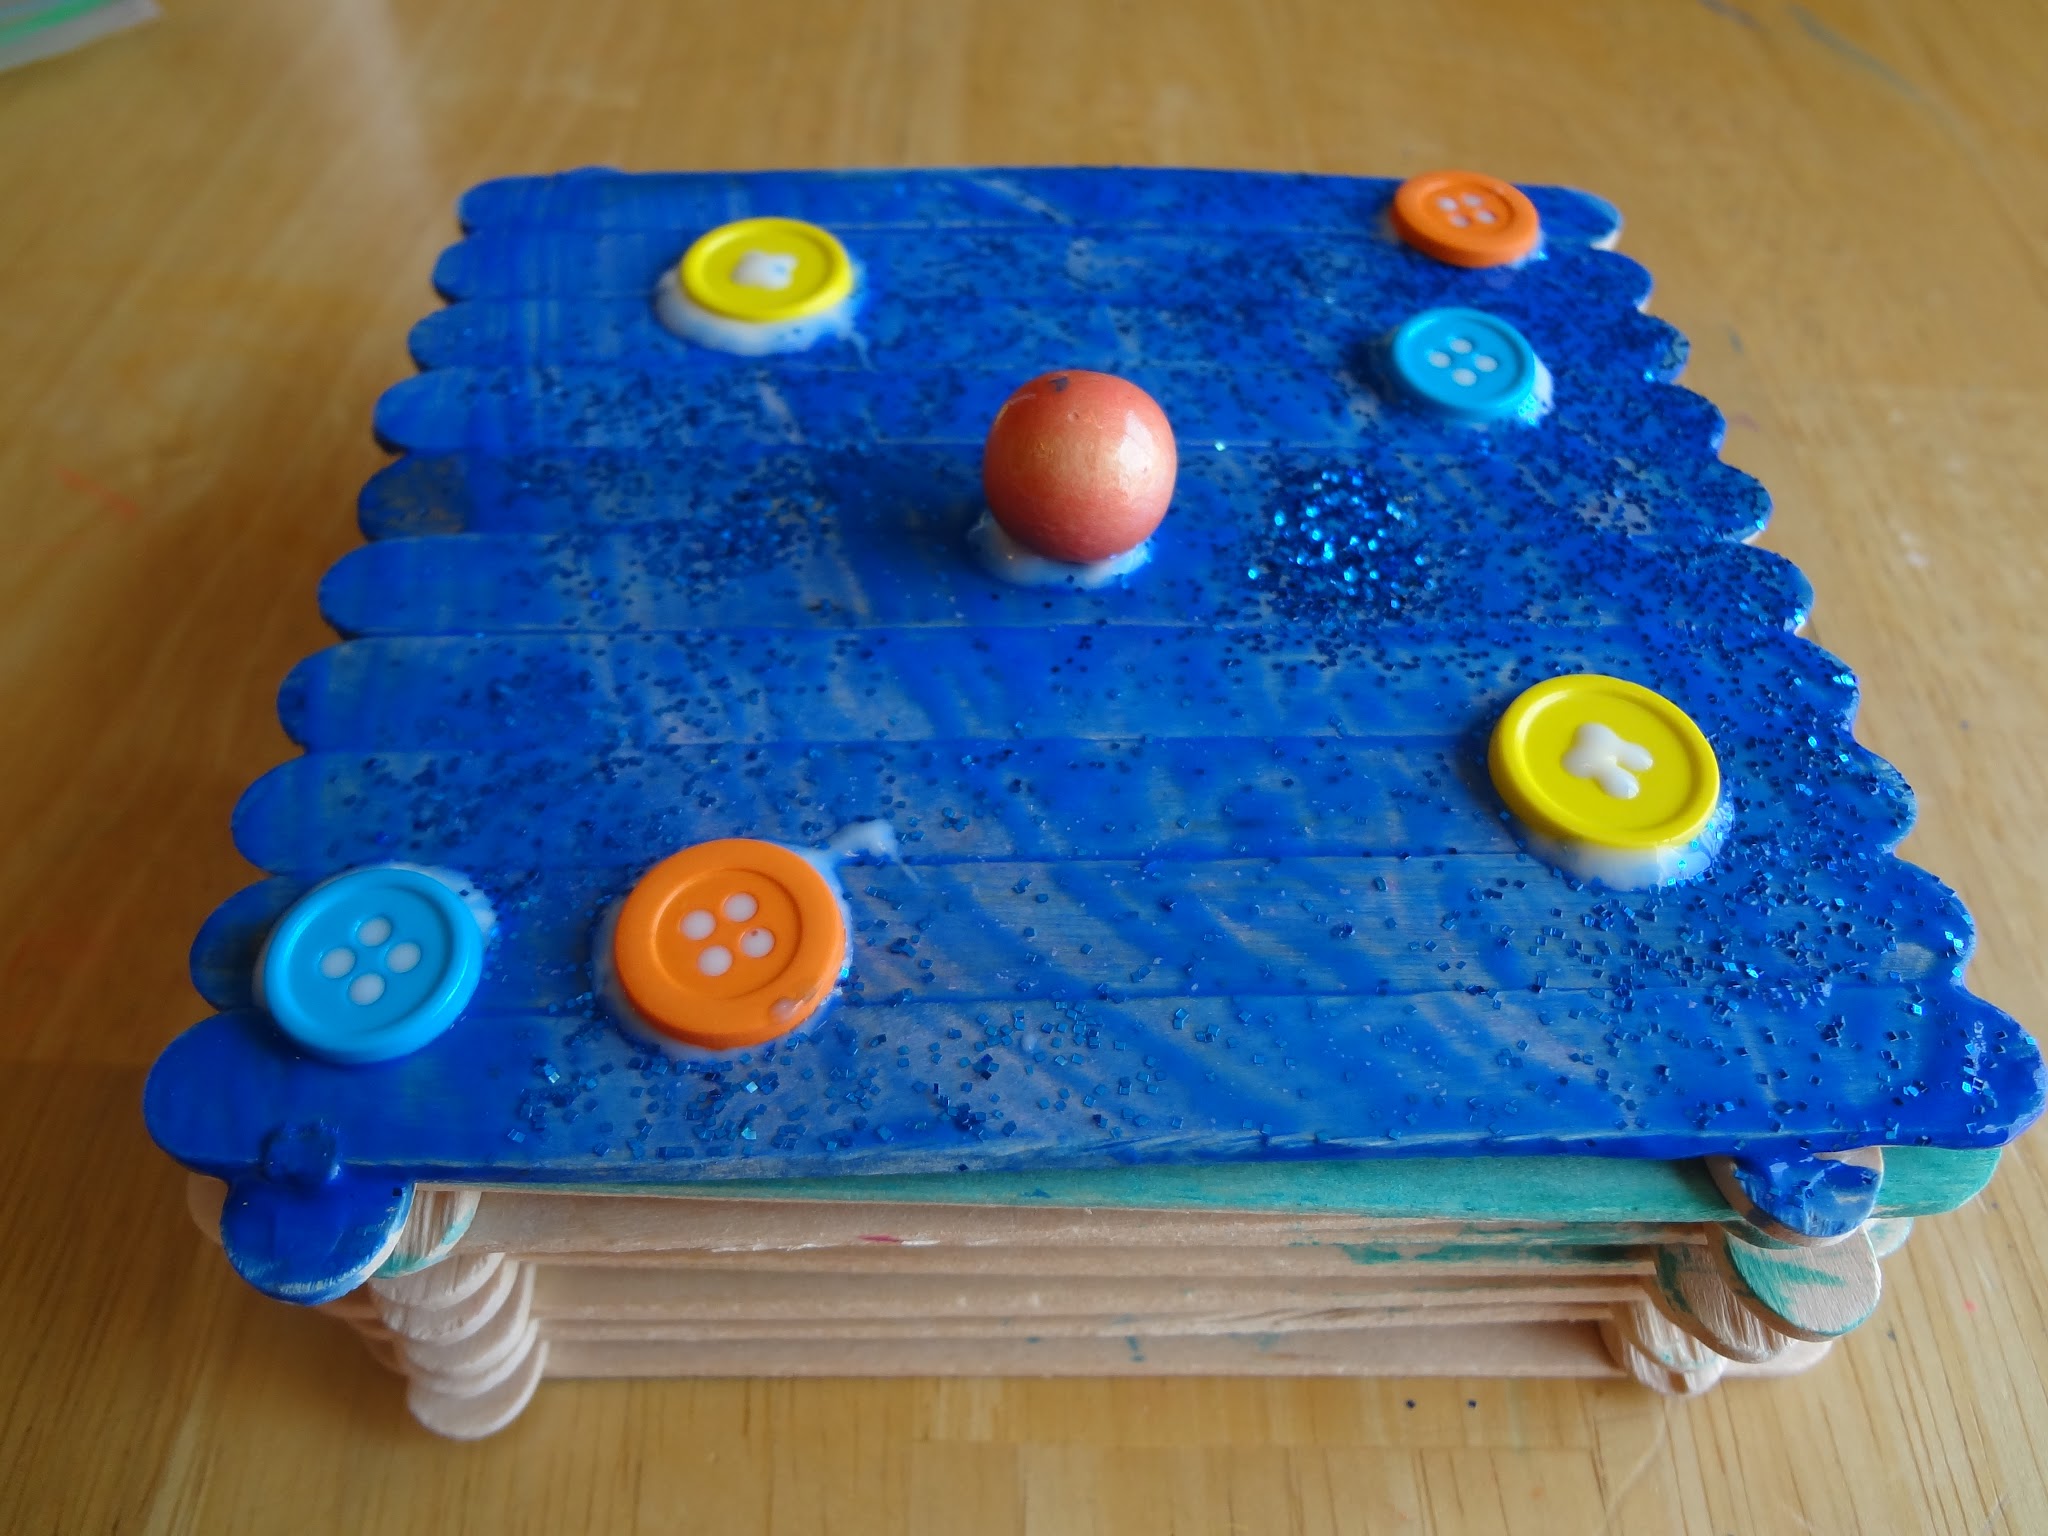
some buttons and beads,
and even some alphabet letters that I had from another project…lovely!
(By the way, the recipient loved her treasure box!)